Keeping an AC unit clean is vital to ensure it continues to function reliably and efficiently for years to come. While it may seem like something you need to hire a professional for, the process is easier than you may think and most homeowners can handle it themselves.
In this helpful guide, we break down everything you need to know, including step-by-step instructions on how to clean an air conditioner and recommendations for the best equipment to use.
In this article: Clorox Disinfecting Bleach, Nu-Calgon Evap Foam and Midwest Hearth Fin and Coil Cleaning Brush
Before you begin cleaning an air conditioner, you must turn off the power to the unit. The easiest way to do this is often at the circuit board. We also recommend wearing a pair of sturdy leather work gloves to protect your hands.
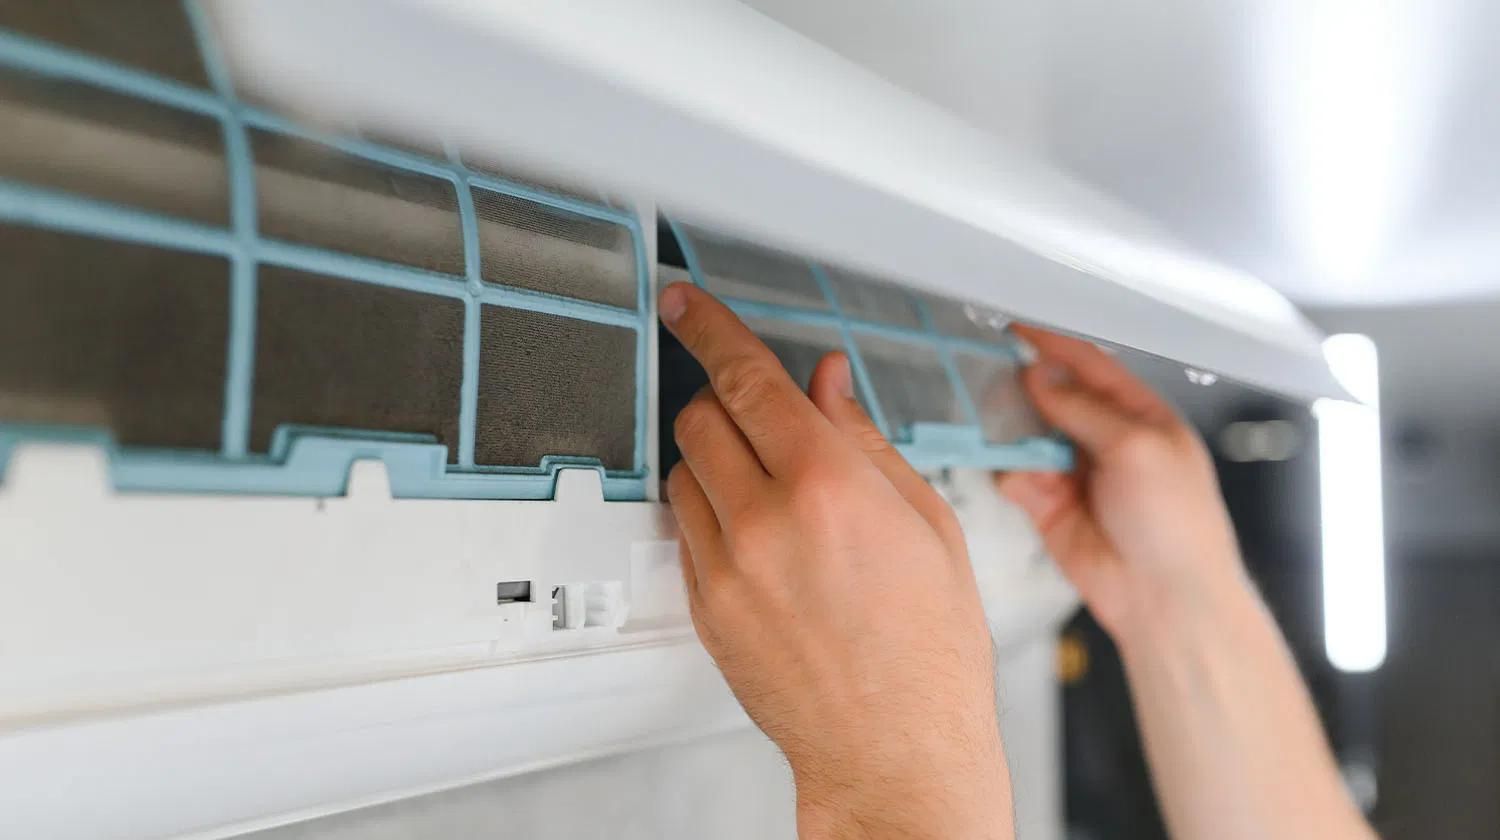
Start by removing the door of the unit to reveal the coils. If there is any tape over the edges, remove it. If not, you can simply unscrew the bolts holding the door in place. Ensure you put the screws somewhere they won’t be lost as you continue with the cleaning process.

Honeywell Disposable Face Mask
Once you have access to the coils, you want to remove the dust from them. You can do this using a shop vacuum or a coil cleaning brush. When cleaning air conditioner coils, be careful not to push too hard. You'll risk bending the coil fins, which can hinder airflow. If you have allergies or are sensitive to dust, you may want to wear a mask for this part.
After removing the dust, spray the coils with a no-rinse, foaming coil cleaner. Do your best to get even coverage. The solution will help remove any remaining dust and dissolve grease and other grime stuck in the coils. Follow the cleaner manufacturer’s guidelines on how long you should wait before moving onto the next step.

After the coil cleaner has finished doing its job, it’s time to clean out the drain pain. This is as easy as mixing a sanitizing solution of equal parts bleach and water and pouring it into the pan. The solution should wash quickly down the drain.
If you see that your cleaning solution isn’t draining quickly, you may need to unclog the pipe. Bring your shop vac to the outlet area, which is usually near the outside condenser, and hold the vacuum hose over the end of the outlet pipe. You may want to wrap it with a damp cloth or something else that helps prevent air leakage. Turn the vacuum on and let it run for a minute or two to suck out any blockage.

TapePlus Professional-Grade Aluminum Foil Tape
Replace the AC door and tighten the screws. If you have AC tape, it is a bright idea to tape the seams to help stop dust from entering the unit.
As when cleaning the inside air handler, make sure the AC unit’s power is off before cleaning the exterior unit. You’ll also want to wear the same pair of work gloves to protect your hands, especially when straightening and scrubbing the fins.
Remove the screws holding the grill in place and lift both the grill and fan. You should have enough slack in the wires to place the fan next to the unit. If not, you will need to disconnect the cables.
Many exterior units may have a collection of leaves, seeds and other debris at the unit’s bottom. If you see any, you should scoop it out by hand or use the shop vacuum to remove it.
From the inside of the unit, spray your condenser cleaner all over the coils. While many foaming coil cleaners say they don’t require rinsing, we find that you get the best results by washing the foam away. You can do this with a regular garden hose. As when applying the spray, this should be done from the inside.
If you notice some of the fins still have debris on them or are bent, you can use a coil brush to remove any residual dirt and a fin straightening tool to straighten out any bent fins. Be very careful when doing this as the fins are sharp and easily damaged.
Place the fan back into the top of the unit and screw the bolts down tightly to secure it in place.
That’s all there is to it. This wouldn’t be a bad time to change your filter to ensure your AC unit runs at maximum efficiency.

This coil cleaner for air conditioner units is a convenient no-rinse formula. It liquifies dirt, grease and other deposits, so you don’t have to waste any time scrubbing. You can also use it on radiators and fan blades.

Nu-Calgon Cal-Spray Condenser Coil Cleaner
This high-solvency air conditioner cleaner quickly removes stubborn dirt and grease without leaving behind any residue.

Midwest Hearth Fin and Coil Cleaning Brush
The same tool as used by many HVAC techs, this affordable brush is stiff enough to be effective, but not so much so that it risks bending the fins.

Malco FST2 Fin Straightening Tool
Not all AC fins have the same spacing, which is why the Malco FST2 is so handy. It has a rotating head, with each side having a different size comb to help you straighten fins on almost any air conditioning unit.

Klein Tools Multi-Bit Screwdriver
You’ll need a screwdriver to remove your AC panels, and this 11-in-1 option is a solid choice. It has a nice cushioned handle that is easy to grip and a chrome-plated shaft to resist corrosion.

Ironclad Ranchworx Work Gloves RWG2
These gloves feature Kevlar reinforcement in strategic areas to effectively protect your hands and have a thin enough construction that they won’t hinder your dexterity much.

A compact but powerful wet/dry vacuum, this tool will come in handy in various situations around a home or workshop. It allows for corded and cordless operation and is equipped with a two-gallon tank.

Homerhyme Premium Microfiber Cleaning Rags
Whether in the kitchen, behind a bar or in a toolbox, these absorbent microfiber rags are ideal for cleaning up small messes. They are affordably priced, free of chemicals and soft enough not to scratch delicate surfaces.
Prices listed reflect time and date of publication and are subject to change.
Check out our Daily Deals for the best products at the best prices and sign up here to receive the BestReviews weekly newsletter full of shopping inspo and sales.